i’m a little tad obsessed with the natural light/indoor photography of my family – and it trickles into those i photograph in their homes as well. finding beautiful light to highlight the beauties in our little babes can feel tedious & super challenging.
i decided to use this space to help work out some ideas & tips for a few upcoming photography workshops i am holding for friends. so hopefully it can be helpful or inspiring to others as well that peruse this space.
light. lighting. i think figuring out ways to make indoor photographs natural & bright can be one of your best friends in photography (on the flip side, a lack of good light can be your worst enemy!). so the number one rule in my style of photography is “find the light”, and number two rule is “capture the feeling”
ISO 800, 24mm/2.8
one of the biggest contributors to good indoor photography is a quick shutter speed. this can be helped by several things — shooting with a low aperture, lower exposure, higher ISO – blah, blah, blah… ;) overall, i just listen to the shutter speed & adjust accordingly. but for some of you fancy folks in manual, you may do things differently — i shoot in AV because it is what i am comfortable with. whatever you use/however you shoot/no matter your equipment find your comfort zone and use light beautifully and you will have lovely images.
here are some tips from me, and how i work on getting light/bright/vibrant indoor photos…
tip #1 : figure out & experiment with light in your home. know your “golden” spots & best times of day. it goes back to the philosophy to try to “get it right – right out of the camera”. whether you are shooting with a DSLR or an iPhone, getting a good no-flash photo is all about light. find it – use it – love it.
for me, the light in my front living room is fabulous for about 3 hours in the morning…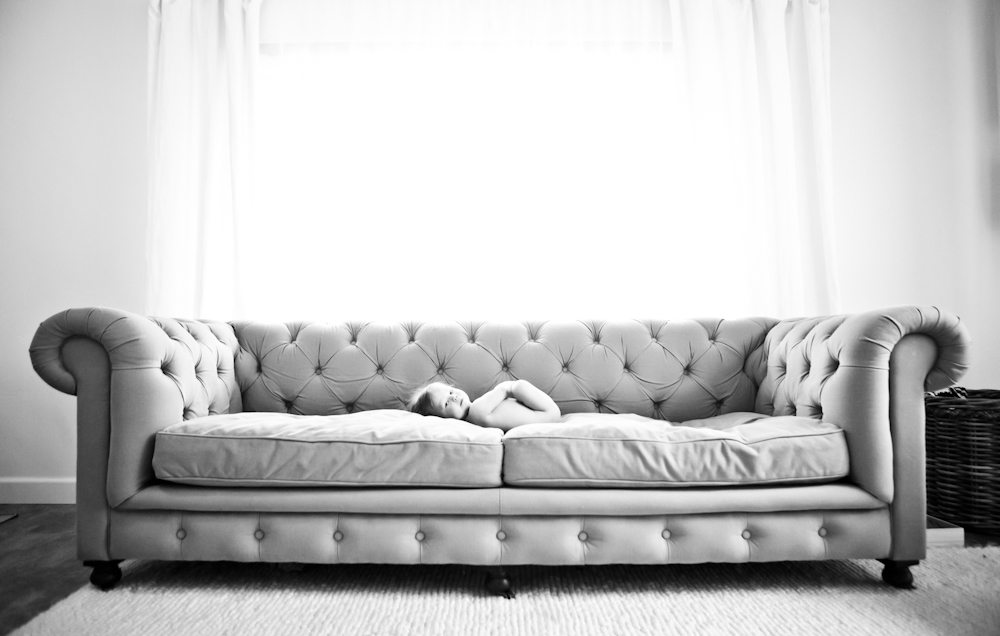
photo taken on couch at 10am in front living room — ISO 1250, 24mm/2.8
but in the afternoon the light shifts to the back of the house. sooooo, i don’t take pictures in the front living room in the afternoon. it’s just not going to turn out & isn’t really worth the time.

photo — taken at 3pm on floor on a white sheet in back of house room. ISO 1000 using 24-70mm/2.8 lens
in the afternoon, the light in the boys room is beautiful. i have taken the majority of my “crib shots” of baby kai in the afternoon so i have the light beaming in through the window creating a soft back-lit photo.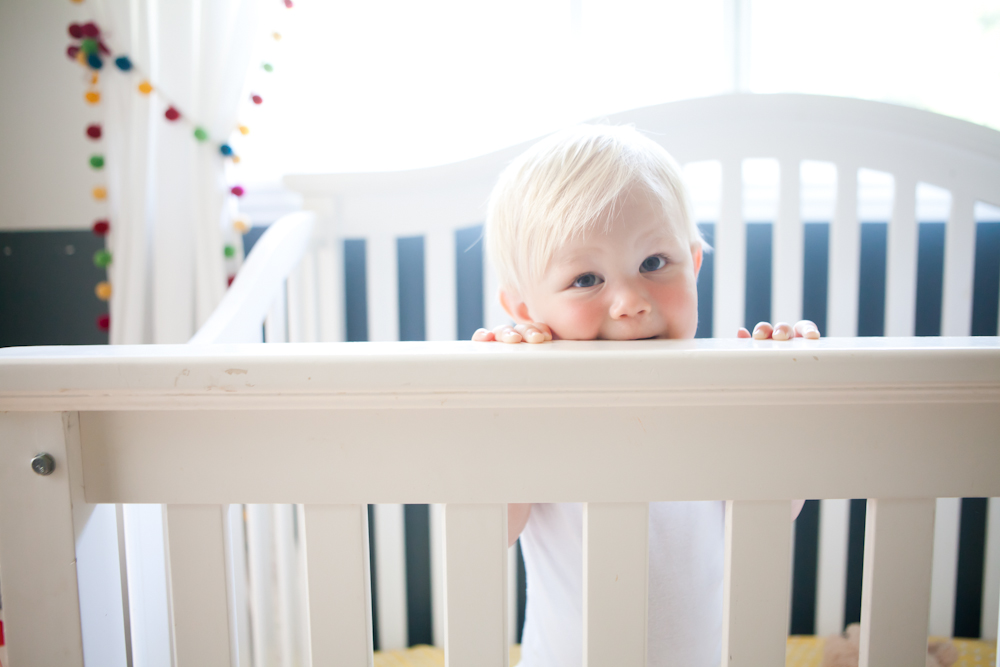
photo taken around 2:30pm, ISO 500, 27mm/2.8
tip #2 : ISO
know it. use it.
for me, proper use of ISO is one of the biggest contributors to taking good indoor photos without a flash. ISO is all about what the lighting is like in your surroundings. If it is a super sunny day outside, your ISO will be low. But inside, you are often, if not always going to need to crank it up a little, or a lot. I am guilty of cranking it a lot. A high ISO will create grain in your photos, but if you want a flash-free photo, and it’s not perfectly bright inside, it’s either going to be a tad blurry or have some grain… so i choose some grain.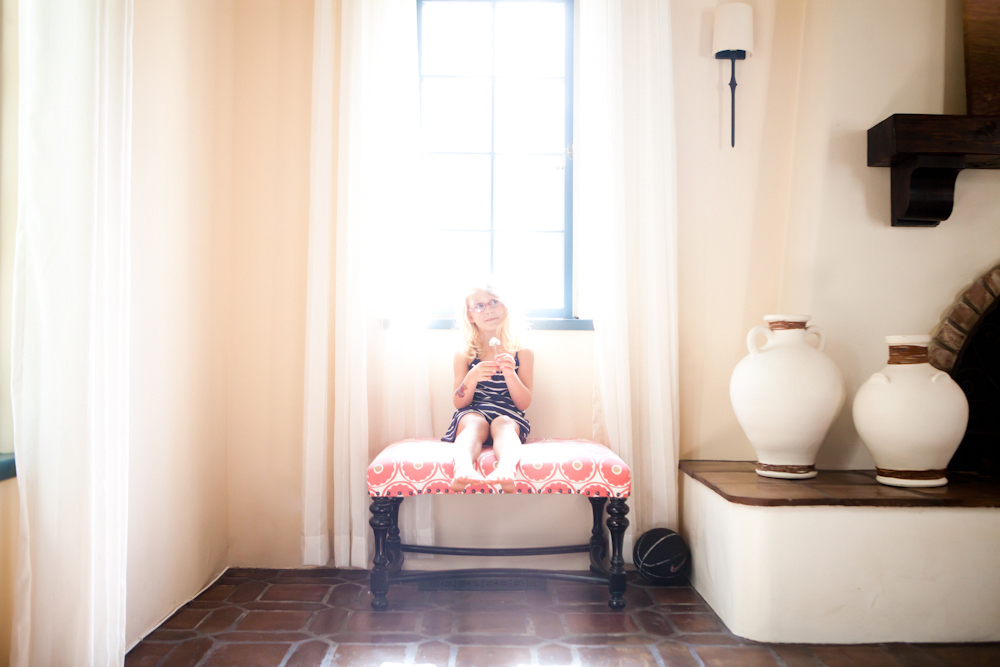
little girl in window — ISO 1000, 34mm/2.8
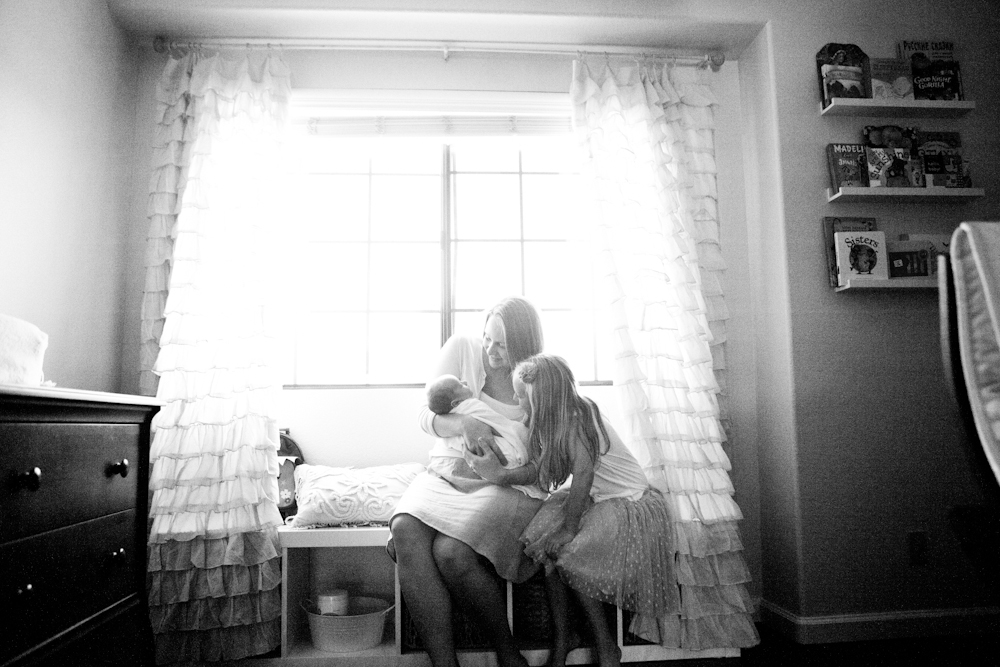 low light room & shooting into window — ISO 4000, 27mm/2.8

sweet girl standing next to a window — ISO 1250, 50/1.2
tip #3 :: work your exposure a lot! you know the little -/+…
if you are shooting INTO a window, crank it high! if you are standing in the window and have a lot of light, leave it either around the middle or even go negative if you need to add more crispness and contrast. 
i was playing around with the lighting in this home. i am standing in a bright door way that looked into a darker room/area. i kept my ISO at 640 and turned down the exposure to have some interesting contrast. photo: ISO 640, 50mm/1.2

shooting into a window – turned exposure up to brighten all the whites. ISO 1000, 24mm/2.8

exposure all the way to +2 — shooting into a bright space, photo — ISO 125, 50mm/1.2
tip #4: shoot with as low an aperture as you can. keep your lens “wide-open” so that a lot of light can get in. this creates the dreamy/soft look and is the way to go in low-light situations.
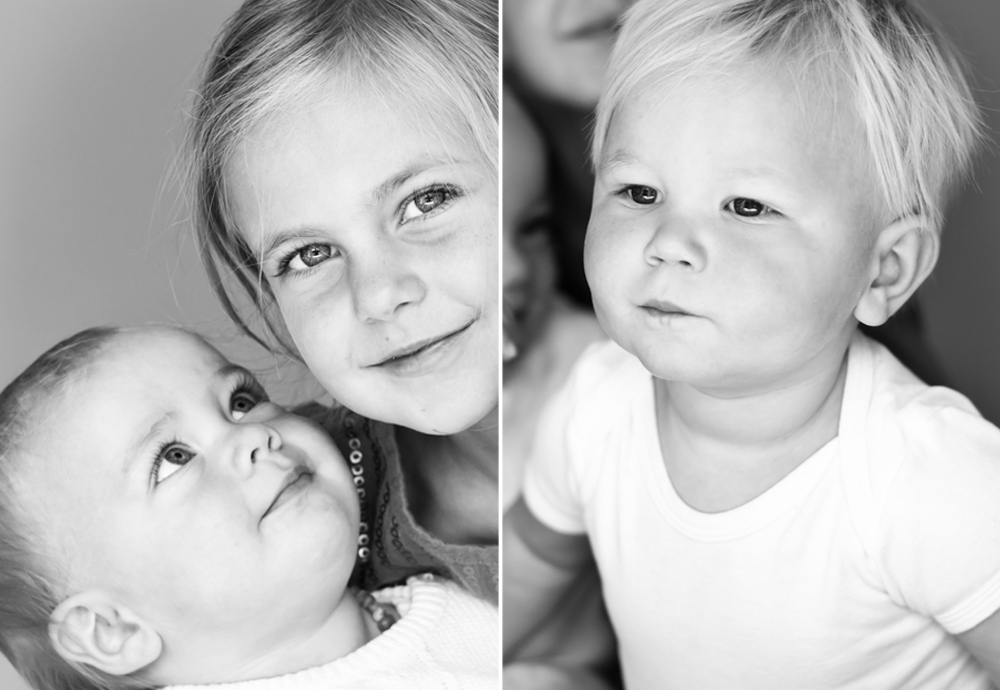
ISO 100, 50mm/1.8

very shallow depth of field helps a photo be bright & light without loosing clarity — ISO 100, 50mm/1.2
 ISO 500, 50mm/2.0
tip #5 : re-position – re-position!!!
if at all possible, just move your body so that you are in a window, a sliding glass door, or bright area and have your subject’s face eluminated by such light. it is easiest to shoot with indirect sunlight hitting your child’s face & a darker/simple background behind you. sometimes, if you can’t reposition yourSELF, you can reposition furniture…
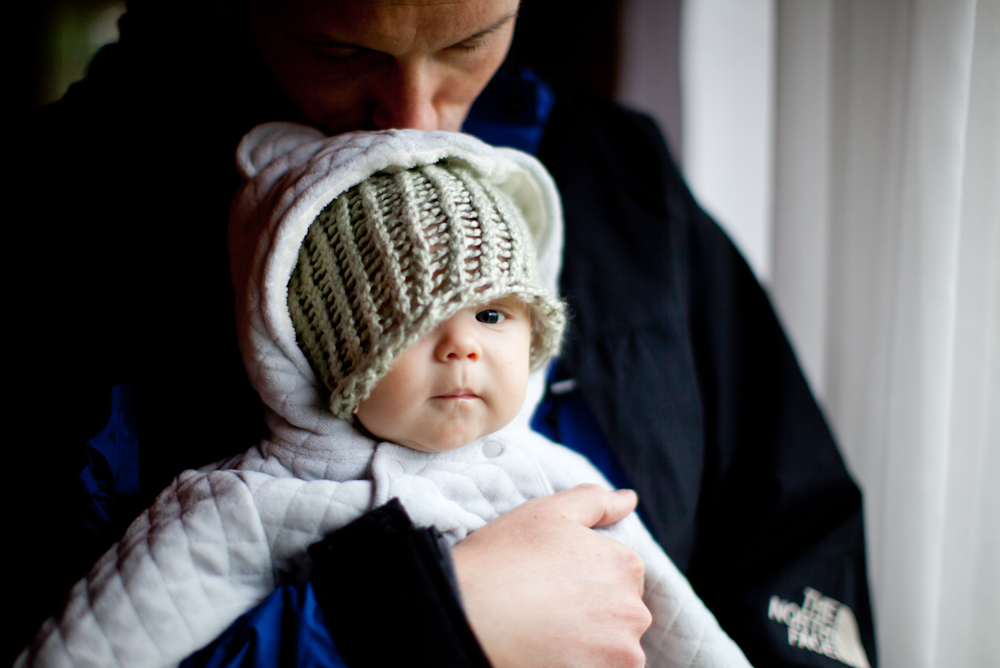
on a dark, rainy seattle day – this window was perfect to create interesting light. ISO 100, 70mm/2.8

subject laying on simple bedding looking at me standing in the big window… ISO 400, 50mm/1.8
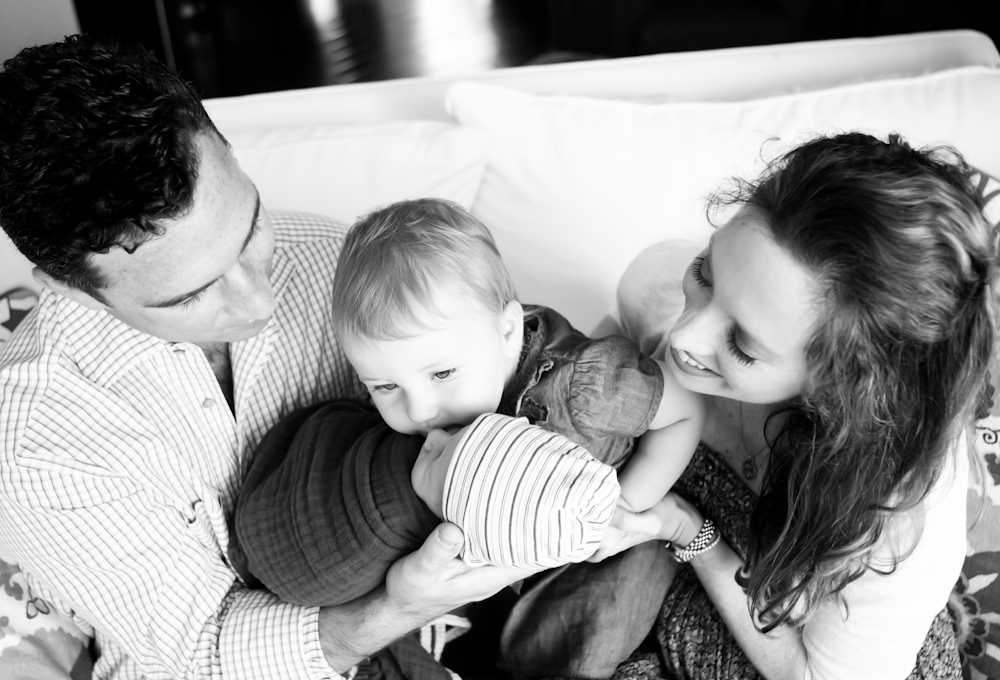
here – i literally turned the couch around to face the big beautiful window… ISO 800, 24mm/2.8

these girls are sitting on the couch facing a big indirect lit window, we actually turned it around after i did a family shot shooting into the window on the same couch. notice below what a striking difference you get in the same room, same couch, different lens & different use of light. above image – ISO 500 50mm/1.8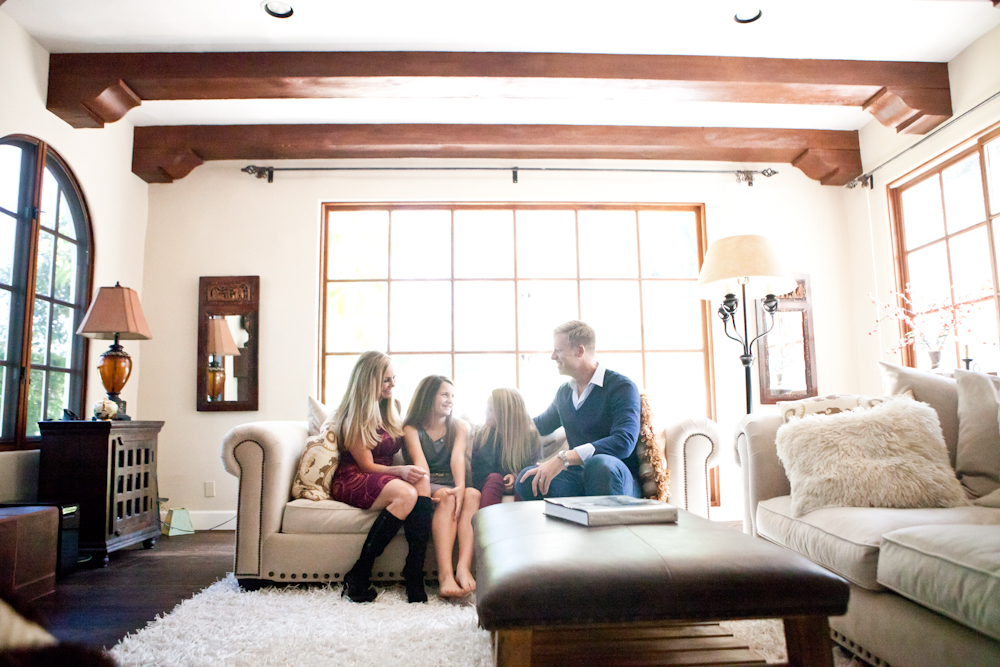
in the above image, same room – I used ISO 5000, 24mm/2.8
if you are struggling inside with light, have your kids/family stand in the doorframe – easiest light![]()
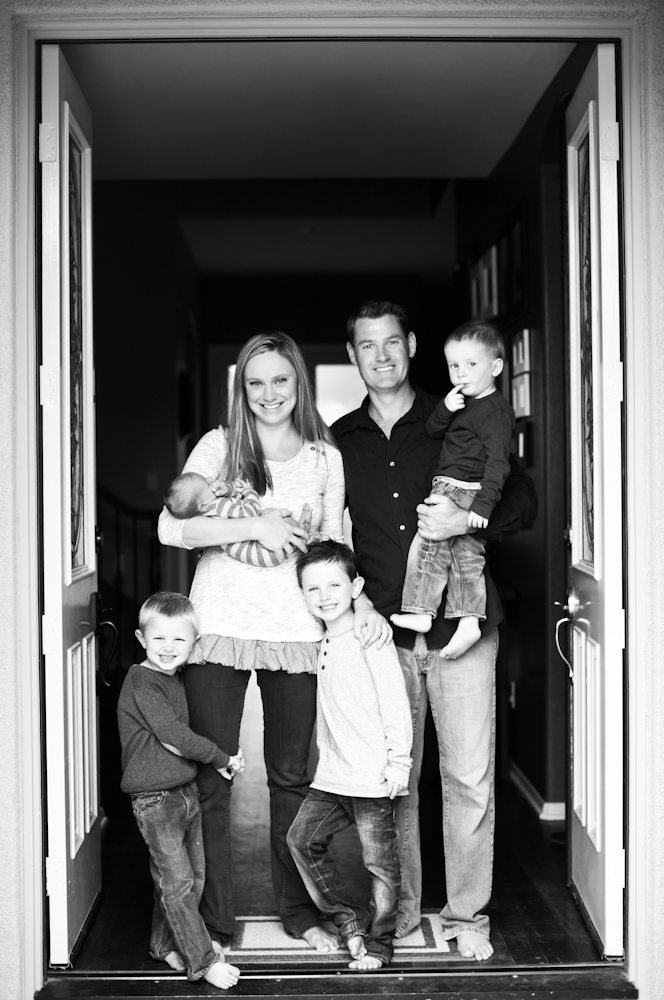
ISO 500, 50mm/2.2
tip #6 – get close. when indoors, if you are trying to capture a lot of different people/things/lights – it is tricky to get it all right. when you get up really as close as possible, your camera doesn’t have to work as hard. and capturing little precious aspects of your kiddos can be perfect.
ISO 500, 50mm/2.0
tip #7 – editing. be sure to brighten your photo once you download it. be bright & be merry![]()

ISO 800, 50mm/2.8
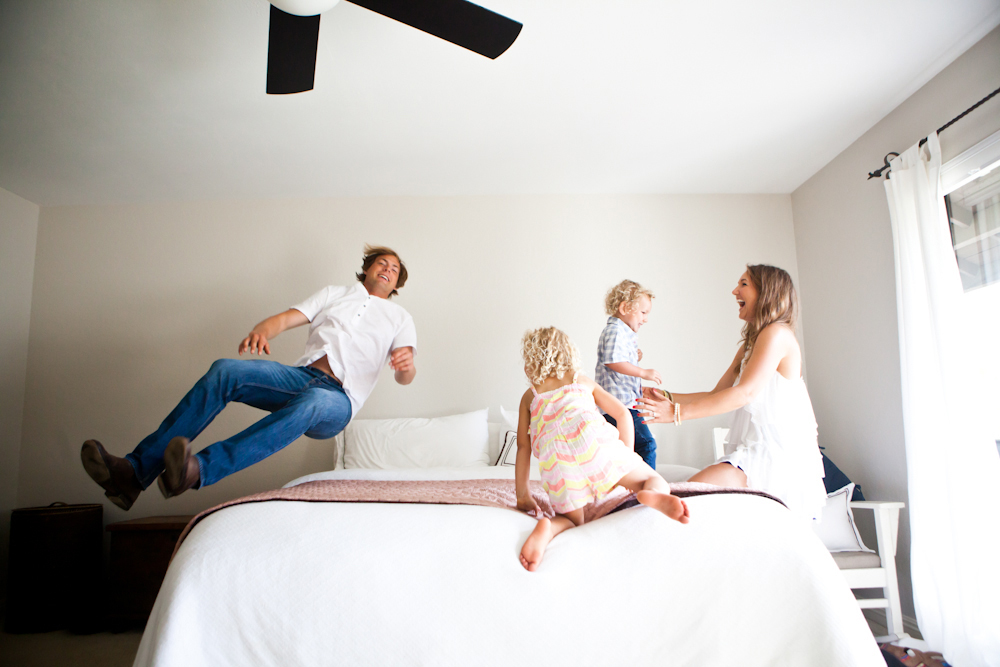
ISO 1250, 24mm/3.5

ISO 640, 50mm/1.4
hope that helps! happy clicking inside & capturing all the little moments that make your home magical.

13 comments